Strong, stylish, and built to last – that's the promise Shelved guarantees. But what really goes into bringing our shelves from concept to reality?
Get a glimpse behind the scenes and learn about each of the steps that bring the stunning shelves you know and love, to life.

Manufacturing the Frame
Your new shelving unit starts its journey in our factory as long sections of tube steel. This raw material works its way through various stages in our factory to eventually form the framework of our modular shelving.

Step one: Laser-Cutting
The process begins with precision laser-cutting. Our advanced fibre laser machines slice through the steel tubes with incredible accuracy, ensuring each piece meets the exact specifications. This precision is crucial for the modular design, allowing the pieces to fit together seamlessly.

Step two: Drilling & Tapping
Next, the steel tubes move to the drilling department. Here, automated machines create perfectly aligned holes that are then threaded (tapped) to accommodate the pins that attach the panels to the framework.

Step three: Welding
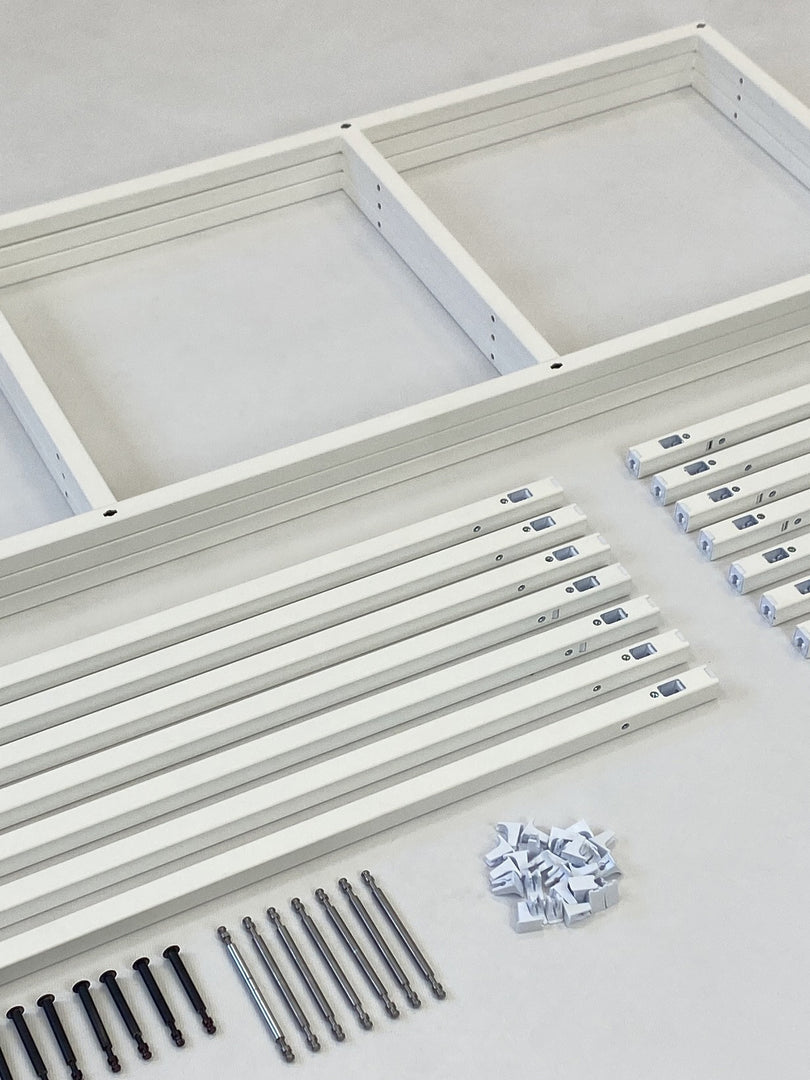
Components are then welded together to form the ladders used in our shelving units. Using a series of jigs for accurate assembly, the parts are fibre laser welded together. This type of welding creates very small, neat, but incredibly strong welds, ensuring the durability and stability of the framework.

Step four: Powder coating
The welded ladders, bridging ladders, and cross rails are then powder coated. This involves applying a high-quality epoxy powder in anthracite, white, or clear coat – whichever you decide on. This powder is baked to form a very hard-wearing protective and aesthetic surface. Powder coating not only enhances the appearance of the shelves but also provides resistance to scratches, chips, and rust, ensuring your shelves look great for years to come.

Step five: Component Assembly
And finally, we insert our pin clip moulding into the end of each horizontal rail using a hydraulic press. This step ensures that all parts are securely fitted and ready for final assembly. The components are then delivered to our packing centre to form stock, ready for picking when you place your order.

Preparing the Panels
Next, let's delve into how we prepare the shelves themselves. Full sheets of 18mm Melamine Faced Chipboard (MFC) are brought into the woodshop. We source our sheets in our three stunning finish options: oak, graphite, or white.

Step one: Cutting the Panels
The process begins with cutting the full MFC sheets on our high-precision saw. Each sheet is carefully measured and cut to create blanks for each component required. This ensures that all panels are the correct size and shape for further processing.

Step two: Edging the Panels
Once the blanks are cut, they move to our edge bander. Here, we apply a 0.8mm ABS edge banding in a matching finish to each panel. This edging not only provides a smooth and professional look but also protects the panels from moisture and damage, enhancing their durability.

Step three: CNC Machining and Drilling
After edging, the panels are transferred to our CNC drilling machine. This step involves precise machining and drilling to create the necessary holes and fittings for assembly. Our state-of-the-art CNC machines ensure accuracy and consistency, turning the panels into finished, ready-to-assemble components.

Step four: Adding Hardware
Finally, any required hardware, such as connectors or mounting brackets, is added to the panels. Once complete, the panels are delivered to our packing centre, ready to be shipped to your door.
Packing and Quality Control
Where possible we aim to use components that have been picked from stock, this helps to speed up the packing process. However occasionally we exhaust our stock pretty quickly. Don't worry – this doesn’t delay your order, as our manufacturing facility is just next door!

We care about the environment and with our commitment to sustainability, we have put thought into our packaging. Where possible we avoid using single-use packaging, and try to consolidate orders into as few packages as possible. This approach reduces packaging waste, lowers transport costs, and minimises our carbon footprint.
Before packing, each shelf undergoes a thorough quality check to ensure it meets our high standards. All parts are cleaned and inspected for any defects, the components are then carefully packed into sturdy cardboard boxes designed to protect them during transit.

All hardware is packed into a fittings kit, clearly marked with a pink "open me first" sticker. Each order includes clear assembly instructions and an exploded diagram of your design, making the assembly process straightforward. To make things even easier for you, we have lots of assembly help videos on our website.
Browse our collections today and experience the quality that sets us apart.

